When it comes to taking care of your vehicle, protecting your wheels is essential. The wheel arches are especially vulnerable to chips, scratches, and other forms of damage, which can diminish the overall appearance of your car. That’s where an ABS plastic wheel arch trim kit comes in handy. This article will explore the benefits of using an ABS plastic wheel arch trim kit, the easy installation process, and the durable and long-lasting nature of this product. Additionally, we will delve into how it enhances the aesthetics of your vehicle.
Benefits of ABS Plastic Wheel Arch Trim Kit
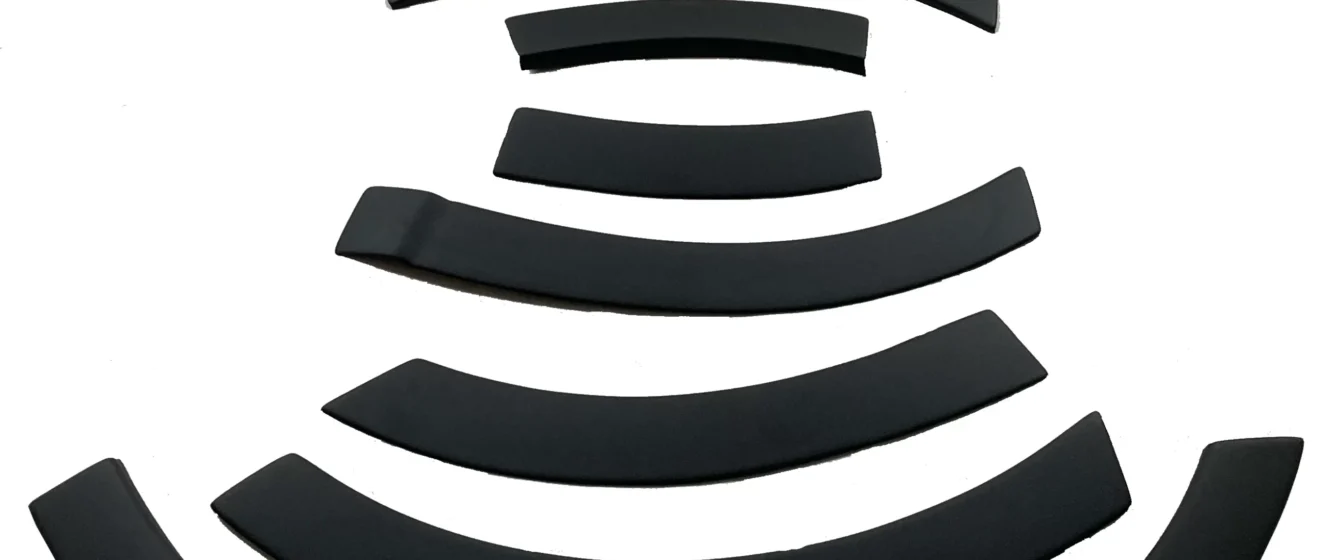
An ABS plastic wheel arch trim kit is a protective accessory designed specifically to safeguard your wheel arches against damage. This kit provides several benefits, making it a worthwhile investment for any vehicle owner. Let’s take a closer look at the advantages:
- Protection from DamageThe primary purpose of the ABS plastic wheel arch trim kit is to shield your wheel arches from various forms of damage. Whether it’s from stones, debris, or other vehicles, the kit acts as a barrier, preventing scratches, dents, and chips. By installing this kit, you can ensure that your wheels remain in pristine condition, preserving both their appearance and functionality.
- Cost-effective SolutionRepairing or replacing damaged wheel arches can be a costly affair. However, by installing an ABS plastic wheel arch trim kit, you can significantly reduce the chances of damage occurring in the first place. This cost-effective solution helps you save money by preventing the need for extensive repairs or replacements. Investing in a trim kit upfront could potentially save you hundreds or even thousands of dollars in the long run.
- Easy Installation ProcessOne of the biggest advantages of an ABS plastic wheel arch trim kit is its ease of installation. Unlike complex vehicle modifications or alterations, the installation process for these trim kits is straightforward and hassle-free. With the included adhesive tape and simple step-by-step instructions, even those with minimal automotive experience can successfully install the kit on their own. This means you can quickly and easily enhance the protection of your wheel arches without the need for professional assistance.
- Versatility and CustomizationABS plastic wheel arch trim kits are available in a variety of styles and designs. This allows you to choose a kit that complements the aesthetics of your specific vehicle. Whether you prefer a sleek, understated look or a bold and eye-catching design, there is a trim kit available to suit your preferences. Additionally, these kits can be easily painted to match the color of your vehicle for a seamless and integrated appearance.
Easy Installation Process
Installing an ABS plastic wheel arch trim kit is a simple and straightforward process that can be completed in just a few steps. Here’s a step-by-step guide to help you with the installation:
- Preparation:
- Clean the surface of the wheel arch thoroughly to ensure proper adhesion of the trim.
- Dry the area completely to prevent any moisture from interfering with the adhesive.
- Dry Fit:
- Before applying the adhesive, dry fit the trim pieces onto the wheel arch to ensure proper placement and alignment.
- Take note of any adjustments needed before proceeding.
- Adhesive Application:
- Apply the adhesive tape included in the kit to the back of the trim pieces.
- Make sure to apply enough tape to provide sufficient adhesion.
- Installation:
- Carefully align the trim pieces with the wheel arch and press firmly to secure them in place.
- Ensure that all edges are properly adhered and there are no gaps or loose areas.
- Finishing touches:
- Clean the trim pieces thoroughly to remove any dirt or grease.
- Sand the trim pieces lightly with fine-grit sandpaper to create a smooth surface for the paint to adhere to.
- Apply a primer to the trim pieces and allow it to dry completely.
- Apply two to three thin coats of paint to the trim pieces, allowing each coat to dry completely before applying the next.
- Apply a clear coat to protect the paint and give it a glossy finish.
- Once the paint has dried completely, you can reinstall the trim pieces on your vehicle.